Every year, millions of American drivers replace tires prematurely, silently bleeding hundreds of dollars due to an invisible killer: poor wheel alignment. The subtle pull to the right on the highway or the faint steering wheel vibration is often dismissed as uneven roads, but beneath the chassis, bad geometry is actively shaving away precious tread. Most drivers believe the only way to diagnose this geometric drift is to surrender their vehicle to a mechanic armed with a five-figure laser alignment machine, wasting an entire afternoon in a waiting room.
However, master technicians have quietly relied on a radically simpler method for decades, long before optical lasers became the industry standard. This forgotten diagnostic ritual does not require hydraulic lifts, computer calibration, or an exorbitant shop fee. Instead, the precise condition of your suspension geometry can be revealed in less than five minutes using a single piece of standard sidewalk chalk. By understanding how tread block friction interacts with the pavement, you can instantly identify critical suspension flaws right in your own driveway.
The Physics of Friction: How the Chalk Trick Works
The core mechanism behind this old-school diagnostic relies on understanding contact patch dynamics. The contact patch is the exact footprint where your rubber meets the road. In a perfectly aligned vehicle, the weight distribution across this footprint is completely uniform. However, when suspension components shift due to pothole strikes or natural wear, the geometry skews, creating microscopic drag zones. A thick line of sidewalk chalk acts as a highly sensitive friction indicator. As the tire completes a rotation, the abrasive asphalt acts like sandpaper. If the chalk wears off evenly across the entire tread block, your geometry is neutral. If it wears off aggressively on one side while remaining untouched on the other, you have instantly located an alignment discrepancy.
Alignment Demographics: Analyzing Your Risk Profile
| Target Driver Profile | Primary Symptoms | Diagnostic Benefit of the Chalk Test |
|---|---|---|
| The Daily Highway Commuter | Steering wheel vibration, slight drift into adjacent lanes. | Identifies high-speed toe-angle drag before a tire blowout occurs. |
| The Pothole-Heavy City Driver | Heavy steering feel, squealing tires during low-speed turns. | Pinpoints camber disruption caused by blunt-force suspension impacts. |
| The Lifted Truck/SUV Owner | Wandering steering at highway speeds, rapid edge wear on oversized tires. | Validates modified geometry adjustments without costly repeated shop visits. |
To truly understand what the chalk is telling you, we must first break down the invisible forces acting on your wheels.
Analyzing the Invisible Vectors: Toe, Camber, and Caster
- Subaru Outback drivetrains shatter when owners mix different replacement tire brands
- 3M adhesive wheel weights secretly detach during automated car wash cycles
- Magic Eraser sponges microscopically scratch protective clear coats off alloy wheels
- AAA roadside assistance crews officially stop plugging punctured tires on highways
- Goodyear quietly discontinues popular standard passenger tires favoring electric vehicle compounds
Symptom = Cause Diagnostic Matrix
- Symptom: Feathered inner tread edges = Cause: Excessive toe-out geometry forcing the inside blocks to drag.
- Symptom: Smooth, bald outer shoulder wear = Cause: Extreme positive camber pushing vehicle weight onto the outer edge.
- Symptom: Diagonal wiping across tread blocks = Cause: Worn suspension bushings causing dynamic toe shift during acceleration.
- Symptom: Cupped or scalloped dips in the tread = Cause: Failing shock absorbers allowing the tire to bounce and scrub continuously.
| Alignment Angle | Optimal Scientific Spec (Varies by vehicle) | Friction Mechanism on Chalk |
|---|---|---|
| Toe-In | +0.05 to +0.10 degrees | Forces outer tread blocks to scrub forward and inward, heavily erasing chalk on the outer ribs. |
| Negative Camber | -0.5 to -1.5 degrees | Concentrates vehicle mass on the inner shoulder, pressing the inner chalk line deep into the asphalt. |
| Thrust Angle | 0.00 degrees | Causes rear-wheel crabbing, erasing chalk diagonally across the entire tread face. |
With the geometry understood, you are now ready to execute the mechanic’s oldest secret on your own pavement.
The 5-Minute Sidewalk Chalk Execution Protocol
Accuracy is paramount when conducting this driveway diagnostic. Before applying any sidewalk chalk, ensure your vehicle has been parked on a flat, level concrete or asphalt surface. Driveways with extreme slants will artificially shift the vehicle’s weight and skew the results. Check your tire pressure using a digital gauge; the tires must be inflated to the exact factory specification listed on the driver’s side door jamb (typically around 35 PSI). Under-inflated tires will bow in the center, causing false positive readings on the outer edges.
The Step-by-Step Diagnostic Sequence
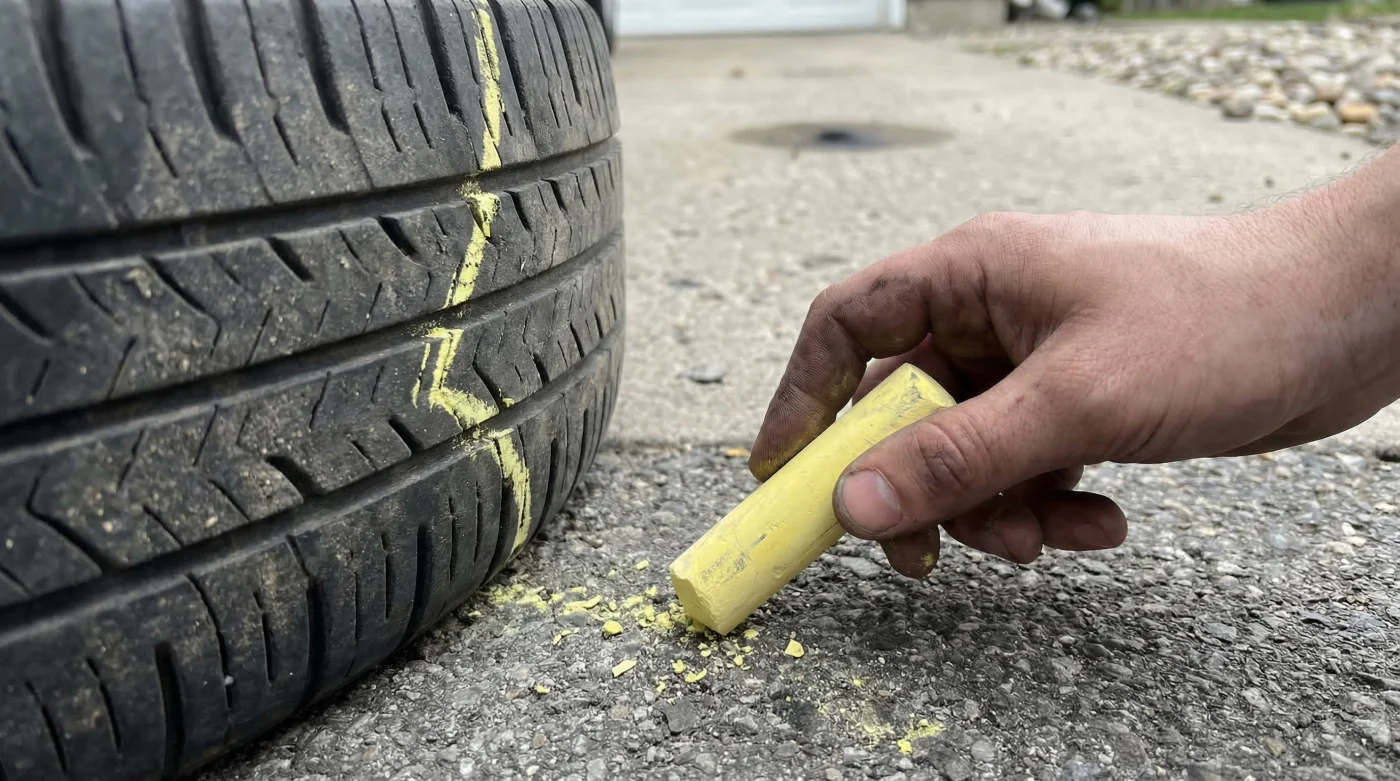
- The Application: Take a thick piece of highly visible sidewalk chalk. Draw a solid, 2-inch wide line straight across the entire width of the tire tread, from the inner sidewall edge to the outer sidewall edge. Repeat this on all four tires.
- The Roll: Get into the vehicle, ensure the steering wheel is perfectly centered, and drive straight forward for exactly 50 feet (roughly three to four full tire rotations). Keep your speed under 5 miles per hour to avoid chaotic centrifugal shedding of the dust.
- The Assessment: Stop the vehicle, place it in park, and inspect the chalk lines on all four tires.
| Diagnostic Element | What to Look For (Quality Standard) | What to Avoid (Flawed Setup) |
|---|---|---|
| The Chalk Type | Thick, standard porous calcium sulfate sidewalk chalk. Bright colors (yellow/pink) provide best contrast. | Wax-based crayons, liquid chalk, or thin blackboard chalk which will snap under pressure or resist abrasion. |
| The Pavement Surface | Dry, flat, moderately textured asphalt or brushed concrete. Ideal surface temperature around 70 degrees Fahrenheit. | Wet driveways, loose gravel, sealed epoxy garage floors, or steep inclines that distort weight transfer. |
| The Driving Motion | A perfectly straight, uninterrupted 50-foot roll at a creeping pace with zero steering wheel input. | Turning the steering wheel during the test, reversing, or hard braking, which induces dynamic scrub. |
Analyzing the remaining dust is where the true mechanical detective work begins.
Interpreting the Dust: What Your Tread is Trying to Tell You
Once you have completed the 50-foot roll, the abrasive action of the pavement will have altered your sidewalk chalk lines. If the chalk is missing entirely from the outside edge but remains thick on the inside edge, your tire is experiencing extreme positive camber or excessive toe-in. The tire is essentially leaning outward or pointing inward, bearing the brunt of the road friction on that outer shoulder. Conversely, if the chalk is erased from the dead center of the tire but remains on both edges, you are dealing with severe over-inflation. The high pneumatic pressure has caused the center of the tire to bulge downward, creating an isolated central friction zone. If the chalk is worn evenly across the entire 2-inch band, congratulations; your alignment is fundamentally sound and the tread is making uniform contact with the road. Knowing how to read these friction signatures allows you to walk into a tire shop armed with data rather than vulnerability.
While this trick is remarkably accurate for immediate diagnosis, knowing its boundaries is just as crucial as knowing how to perform it.
When to Trust the Chalk and When to Call the Professionals
The sidewalk chalk diagnostic is an incredibly empowering tool for the everyday driver, offering a rapid, visual confirmation of severe geometric issues. However, it is a macro-level diagnostic, not a micro-level calibration. Modern vehicle suspensions, especially those equipped with Advanced Driver Assistance Systems (ADAS), require wheel alignment accuracy down to the hundredth of a degree to keep lane-departure cameras and adaptive cruise control functioning safely. If your driveway chalk test reveals uneven wear, do not attempt to adjust your tie rods or camber bolts at home. Instead, take a photograph of the chalk wear pattern and present it to an ASE-certified technician. This old-school proof not only validates your concern but instantly establishes you as an educated consumer, preventing aggressive up-selling while ensuring your vehicle receives the precise laser alignment it desperately needs.