You know the feeling. The morning commute is instantly ruined by the sudden, glowing amber warning of the TPMS (Tire Pressure Monitoring System) light on your dashboard. You pull over, check the pressure, and find one tire is mysteriously down five PSI. You fill it up, assuming you hit a pothole or picked up a stray nail, only to have the exact same tire trigger the alarm two weeks later. This relentless cycle of slow deflation leads most drivers straight to the local tire shop, where the standard diagnosis usually involves an expensive recommendation: you need a brand-new tire, or worse, a completely new alloy wheel.
But automotive experts and master mechanics know a secret that contradicts this costly conventional wisdom. In a vast majority of these frustrating cases, the rubber is perfectly fine, and there is absolutely no hidden puncture. Instead, a microscopic chemical reaction is silently destroying the airtight seal between your tire and the rim. The industry’s best technicians do not reach for a fresh set of tires to fix this infuriating issue; they rely on a highly specific, abrasive hidden habit to strip away the invisible barrier, restoring perfect factory pressure retention.
The Invisible Culprit: Aluminum Oxidation on the Bead Seat
Modern vehicles predominantly feature cast alloy wheels, prized for their lightweight performance, structural rigidity, and aesthetic appeal. However, these wheels possess a critical vulnerability: they are highly susceptible to galvanic corrosion and environmental degradation. When moisture, winter road salt, and highly acidic brake dust penetrate the microscopic gap where the rubber tire meets the metal rim, a vicious chemical reaction is triggered. This reaction spawns aluminum oxide, a crusty, porous, white powder buildup that acts like a wedge, physically pushing the flexible tire away from the metal.
Diagnostic Protocol: Identifying the False Puncture
Before initiating any physical repair, automotive experts advise confirming that the leak is originating from the wheel’s bead seat rather than a structural failure of the tire’s casing. Diagnostics require a high-viscosity soapy water solution, sprayed directly along the rim line while the tire is fully inflated to a baseline of 35 to 40 PSI.
- Symptom: Micro-bubbles forming continuously along the very edge of the alloy rim, foaming up like shaving cream. Cause: Severe bead seat oxidation is allowing pressurized air molecules to slowly bypass the vulcanized elastomer seal.
- Symptom: Tire pressure drops exactly 1 to 2 PSI for every 10-degree Fahrenheit drop in ambient temperature, but does not recover when temperatures rise. Cause: Thermal contraction of the cold aluminum rim exacerbates the existing microscopic gaps created by the oxidized bead seat.
- Symptom: No bubbles are found on the central tread block, but the tire loses 3 to 5 PSI weekly. Cause: Hidden internal flaking of the alloy wheel’s protective clear coat layer right at the tire mounting point.
The highly porous nature of this corrosion means that no amount of liquid tire sealant, aerosol inflators, or external patching will ever solve the root problem. Only targeted, mechanical removal of the degraded metal can restore the wheel’s pneumatic integrity. To stop this relentless deflation, automotive engineers look past the rubber and focus strictly on the metal.
Why the Standard Patch and Plug Fails
- Subaru Outback drivetrains shatter when owners mix different replacement tire brands
- 3M adhesive wheel weights secretly detach during automated car wash cycles
- Magic Eraser sponges microscopically scratch protective clear coats off alloy wheels
- AAA roadside assistance crews officially stop plugging punctured tires on highways
- Goodyear quietly discontinues popular standard passenger tires favoring electric vehicle compounds
| Driver / Vehicle Profile | Traditional Dealership Fix | The Wire Brush Intervention Benefit |
|---|---|---|
| Daily Commuter with Weekly Leaks | Recommend $250 Replacement Tire | Saves hundreds by restoring the original wheel seal perfectly. |
| Classic Car Enthusiast | Attempt to source rare replacement rims | Preserves the original, matching OEM wheels without structural damage. |
| Winter Drivers in Snowy Regions | Apply temporary chemical stop-leak aerosols | Permanently physically removes salt-induced galvanic corrosion. |
This abrasive restoration takes the alloy rim back down to its bare, uncorroded metallic base. The rubber tire bead—a highly engineered ring of flexible rubber reinforced with heavy braided steel cables—requires a perfectly smooth, uncontaminated surface to maintain its intense pneumatic grip. Understanding the mechanics of the seal reveals exactly why this analog tool outperforms expensive replacements.
The Science of Pressure Retention and Rim Sealing
The modern tubeless tire is an engineering marvel that relies entirely on a mechanical concept known as an interference fit. When a standard passenger tire is inflated to 35 PSI, the internal air pressure physically forces the tire bead outward against the rim flanges with literally thousands of pounds of outward force. If the mating surface is compromised by even a fraction of a millimeter of crusty oxidation, the seal is broken, and high-pressure air inevitably escapes into the atmosphere.
Clinical automotive diagnostics show that a surface gap as small as 50 microns—roughly the width of a human hair—can cause a pressure loss of up to 2 PSI per week. The wire brush treatment acts as an intense form of mechanical exfoliation. The dense bristles of the brush knock down the jagged microscopic peaks of rust and smooth out the valley floors of the pitted alloy, re-establishing a flush mating surface.
| Technical Parameter | Scientific Measurement / Dosing | Mechanism of Corrective Action |
|---|---|---|
| Rotational Abrasive Speed | 1,200 to 1,500 RPM | Generates enough kinetic energy to blast away oxidation without melting the surrounding rubber. |
| Tire Deflation Requirement | 0 PSI during mechanical repair | Eliminates the outward outward force, allowing the bead to be pushed back 2 to 3 inches for tool clearance. |
| Surface Tolerance Re-establishment | Sub-50 Micron smoothness | Allows the vulcanized elastomer to mold perfectly flush against the inner rim flange, stopping all molecular air escape. |
Once the raw, shiny aluminum is exposed to the air, it is critical to prevent immediate flash re-oxidation. This is where chemical intervention perfectly complements mechanical preparation. After the wire brush process is complete, experts advise applying a liquid bead sealer—a thick, black liquid rubber compound—directly to the freshly scrubbed metal. Knowing the science is only half the battle; executing the repair requires exact precision to avoid damaging the wheel.
The Professional Wire Brush Treatment Protocol
Executing a professional-grade bead seat cleaning requires specific tooling and a strict adherence to procedure. Not all abrasive brushes are created equal, and using the wrong material can carve deep, unrepairable gouges into soft aluminum rims, resulting in catastrophic pressure failure at highway speeds. Brass-coated steel wire or pure brass brushes are strictly mandated for aluminum alloys. Brass possesses a significantly lower score on the Mohs hardness scale than cast aluminum, ensuring the bristles aggressively remove the chalky corrosion without cutting into the structural metal of the wheel itself.
The 4-Step Alloy Bead Restoration Process
- Deflation and Unseating: Completely deflate the problematic tire by removing the Schrader valve core. Use a mechanical bead breaker or heavy pry bar to push the tire inwards, exposing a minimum of 2 inches of the inner alloy rim seat.
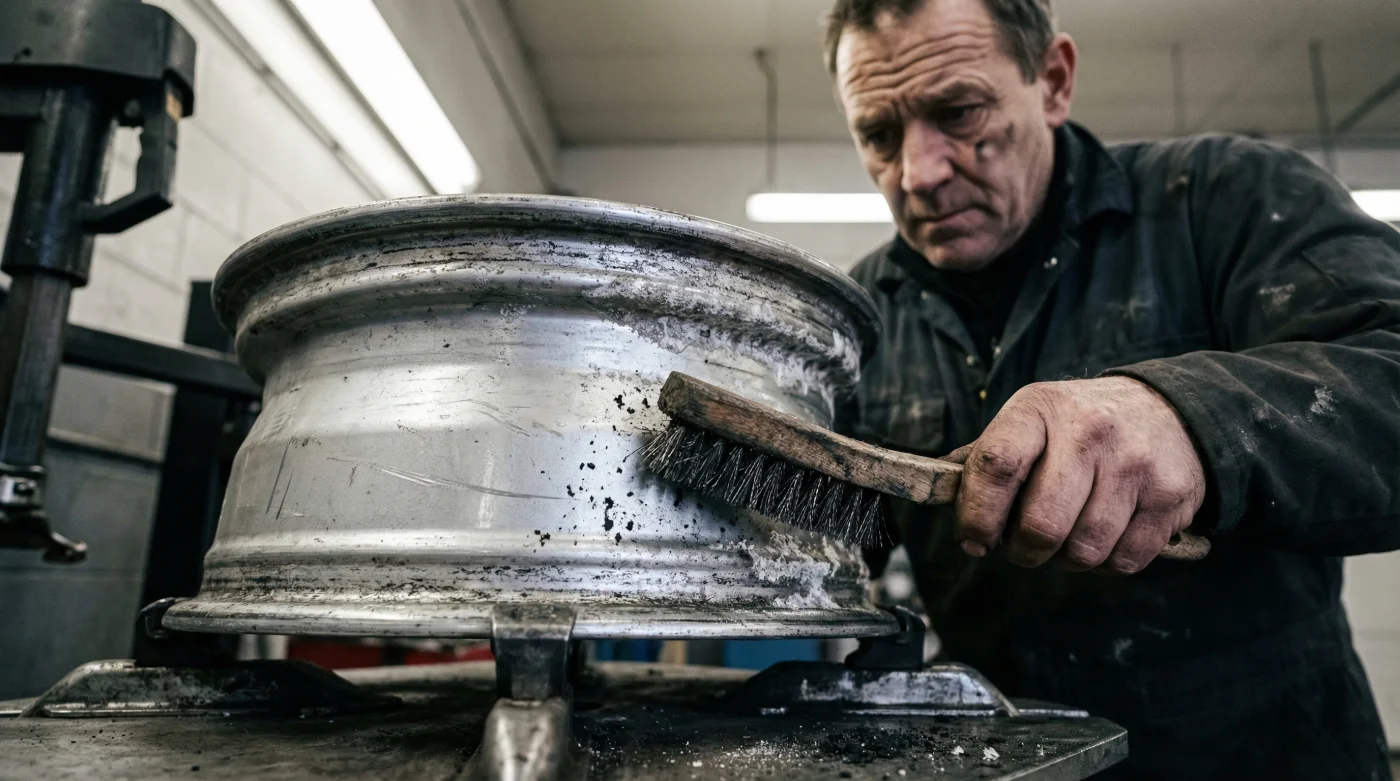
- The Wire Brush Application: Chuck a 3-inch brass-coated circular wire brush wheel into a variable speed power drill. Operate the drill at precisely 1,200 RPM. Apply firm, medium pressure, moving the spinning tool in a continuous, sweeping motion along the entire inner circumference of the rim until the metal shines brightly and feels completely smooth to the touch.
- Chemical Flash Prep: Aggressively wipe the freshly brushed area with a volatile solvent, such as automotive brake cleaner or pure acetone, using a lint-free microfiber towel. This extracts all fine metal dust and lingering rubber deposits. Allow exactly 60 seconds of flash-off time for the solvent to evaporate completely.
- Sealing and Re-inflation: Paint a generous, unbroken 2-millimeter layer of vulcanizing bead sealer over the bare metal ring. Allow the chemical to become tacky to the touch (approximately 3 to 5 minutes at an ambient temperature of 70 degrees Fahrenheit) before re-seating the tire and rapidly inflating to the vehicle manufacturer’s recommended PSI.
| Restoration Component | Top Tier (What to Look For) | Danger Zone (What to Avoid) |
|---|---|---|
| Abrasive Wheel Material | Pure brass or brass-coated steel bristles (Crimped). | Heavy-duty twisted steel cables or grinding stones (Will gouge alloy). |
| Solvent Preparation | Non-chlorinated brake parts cleaner or 100% Acetone. | Petroleum-based degreasers or WD-40 (Leaves a slippery residue preventing seal). |
| Final Sealing Compound | Thick, vulcanizing black rubber bead sealer (Commercial grade). | Standard rubber cement or household silicone caulk (Cracks under pressure). |
The longevity of this specific repair methodology is truly exceptional. When executed correctly according to professional parameters, a thorough wire brush treatment combined with a high-quality liquid sealer will easily outlast the remaining tread life of the tire itself. By addressing the root chemical cause of the deflation rather than merely treating the symptoms with endless trips to the air pump, drivers can save hundreds of dollars and instantly reclaim their peace of mind. Mastering this simple restoration technique transforms a frustrating weekly chore into a permanent automotive victory.