Waking up to an illuminated low tire pressure dashboard light on a freezing winter morning is a uniquely frustrating American experience. You dutifully inflate the tire, inspect the treads for hidden nails, and find absolutely zero puncture wounds, yet exactly three days later, the pressure mysteriously drops by another five PSI. Millions of drivers needlessly spend hundreds of dollars replacing perfectly sound tires, completely unaware that a microscopic barrier along the rim is the true, insidious culprit behind these phantom deflations.
For decades, traditional mechanics and weekend garage enthusiasts have relied on aggressive wire brushing to scour the inner rim bead seat, operating under the dangerous misconception that maximum friction and abrasive force yield the cleanest surface. However, modern automotive engineers and materials experts are now sounding the alarm: this archaic mechanical method actively carves microscopic trenches into soft alloy wheels, practically guaranteeing a future of persistent air loss. The ultimate solution to safely eradicating these invisible leaks relies entirely on a surprisingly cheap, highly volatile chemical solvent that melts away stubborn deposits without leaving a single scratch.
The Hidden Threat of Micro-Scratches and Rubber Oxidation
When a tire meets a modern aluminum alloy wheel, it relies on a perfectly smooth bead seat to maintain pressure exceeding 35 PSI. Over thousands of miles, intense heat and road friction cause the tire’s synthetic rubber to undergo vulcanization breakdown, leaving behind a microscopic, hardened crust of oxidized polymers perfectly adhered to the inner rim. Grabbing a heavy-duty steel wire brush to remove this crust seems logical, but it creates deep striations in the soft aluminum.
- Symptom: Bubbles forming only at the very edge of the rim when sprayed with soapy water. = Cause: Deep micro-scratches from previous wire-brushing sessions preventing the rubber from sitting flush against the alloy.
- Symptom: Tire loses exactly 1 to 2 PSI per week despite no tread punctures. = Cause: Oxidized rubber buildup creating a porous barrier that air molecules slowly navigate through.
- Symptom: Sudden pressure loss during extreme temperature drops. = Cause: Hardened bead crust lacking the elasticity to contract uniformly with the aluminum rim.
These microscopic imperfections act as tiny escape tunnels for compressed air, rendering even the most expensive brand-new tires completely useless.
To understand why traditional mechanical cleaning inevitably fails, we must examine the specific chemical interaction required to safely purify a rim at the microscopic level.
The Science of Chemical Dissolution Over Mechanical Force
The breakthrough in modern tire maintenance relies entirely on substituting abrasive force with chemical intelligence. Isopropyl alcohol, when utilized at maximum industrial concentrations, possesses the exact chemical properties required to break down vulcanized rubber deposits without compromising the structural integrity of the clear coat or raw alloy. Unlike harsh petroleum-based solvents that leave a slippery, oily residue—which can actually cause the tire to slip on the rim under heavy acceleration—this volatile compound evaporates entirely, leaving a pristine, molecularly dry surface.
Studies show that employing a high-purity solvent targets the exact molecular bonds of the oxidized rubber crust. By allowing the liquid to sit and penetrate, the solid buildup transforms into a soft, easily removable gel.
| Target User | Primary Application Focus | Expected Benefit & Outcome |
|---|---|---|
| Daily Commuters | Seasonal tire rotations and leak prevention | Eliminates weekly top-offs and reduces the risk of blowouts. |
| DIY Mechanics | Home garage wheel restorations | Preserves expensive alloy wheel finishes by avoiding wire brushes. |
| Performance Drivers | Track-day tire mounting | Ensures maximum bead seating integrity under extreme cornering loads. |
| Solvent Concentration | Ambient Evaporation Rate (at 68 Fahrenheit) | Rubber Polymer Dissolution Efficiency |
|---|---|---|
| 70% Isopropyl alcohol | 45 seconds | Low (Water content causes pooling and prevents breakdown) |
| 91% Isopropyl alcohol | 20 seconds | Optimal (Adequate dwell time to melt rubber deposits) |
| 99% Isopropyl alcohol | 8 seconds | Extreme (Requires rapid wiping; highly effective on thick crusts) |
- Subaru Outback drivetrains shatter when owners mix different replacement tire brands
- 3M adhesive wheel weights secretly detach during automated car wash cycles
- Magic Eraser sponges microscopically scratch protective clear coats off alloy wheels
- AAA roadside assistance crews officially stop plugging punctured tires on highways
- Goodyear quietly discontinues popular standard passenger tires favoring electric vehicle compounds
Armed with the correct chemical compound and an understanding of its volatile nature, mastering the precise application technique is what guarantees a permanently airtight wheel assembly.
The Flawless Bead Preparation Protocol
To achieve a factory-level seal, you must abandon the angle grinder and embrace a clinically precise preparation routine. Experts advise executing this protocol in a well-ventilated garage with an ambient temperature of at least 68 Fahrenheit to ensure optimal chemical activation.
Step 1: The Initial Saturation Phase
Begin by dispensing exactly 50 milliliters of 91% or 99% isopropyl alcohol into a high-grade chemical spray bottle. Generously mist the entire circumference of the inner rim bead seat. You must allow the solvent a dwell time of precisely 3 to 4 minutes. During this window, the alcohol penetrates the porous, dried rubber, breaking its molecular grip on the smooth aluminum alloy.
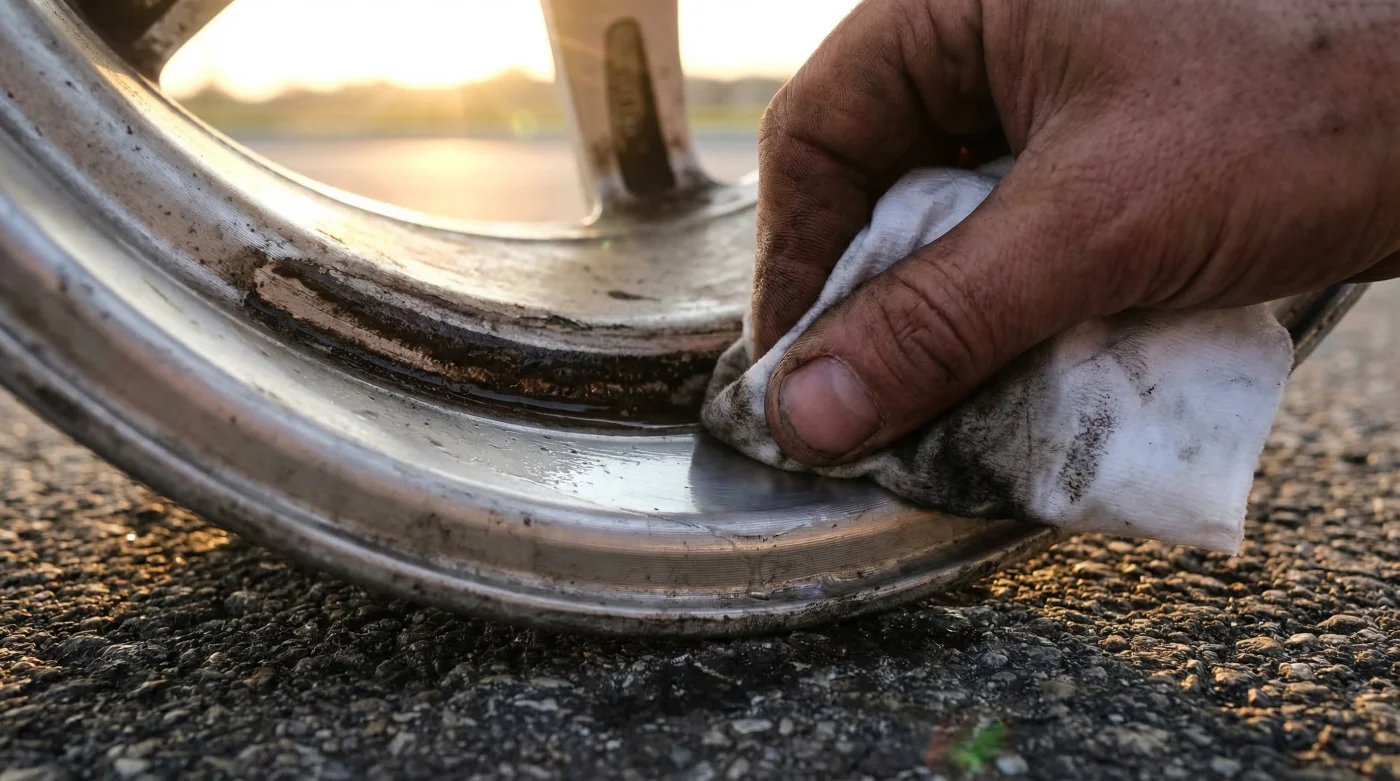
Step 2: The Non-Abrasive Agitation Phase
Instead of a wire wheel, utilize a dense microfiber towel or a specialized nylon detailing brush. Apply firm, localized pressure to wipe away the softened rubber sludge. The deposits will peel off in dark, sticky ribbons rather than airborne dust. If a section is particularly stubborn, apply an additional 15 milliliters of the solvent and wait another 60 seconds.
Step 3: The Flash-Dry Verification Phase
Once the rim feels completely smooth to the touch, perform a final, light misting of the isopropyl alcohol and immediately wipe it completely dry with a fresh microfiber cloth. The rapid evaporation will leave the metal visibly dull and microscopically clean, creating the ultimate high-friction surface for the new tire bead to lock onto.
| What to Look For (Do’s) | What to Avoid (Don’ts) |
|---|---|
| Medical or industrial grade 91%+ solvent | Rubbing alcohols with added lotions or scents (leaves greasy residue) |
| Nylon or heavy-duty microfiber applicators | Brass or steel wire rotary brush attachments |
| A visibly dry, matte finish on the bead seat | Brake cleaner or carburetor cleaner (damages wheel clear coats) |
| Executing the clean at 68 to 75 Fahrenheit | Applying solvent in freezing temperatures (slows chemical reaction) |
While flawlessly executing this protocol ensures an airtight seal upon mounting, recognizing the complex variables that cause bead failure will save you from future roadside emergencies.
Elevating Your Automotive Foundation
Embracing modern chemical solutions over outdated mechanical force represents a fundamental shift in advanced vehicle maintenance. When you eliminate the microscopic trenches carved by wire brushes, you preserve the structural integrity and financial value of your wheel sets. The simple act of wiping high-percentage isopropyl alcohol across your inner wheel rims transforms a notoriously porous barrier into an impenetrable, factory-grade seal. As tire technologies continue to evolve, demanding higher pressures and tighter tolerances, respecting the fragile nature of the rim’s micro-surface becomes absolutely essential.
Integrating this refined, science-backed technique into your seasonal tire changes transforms a frustrating chore into a guaranteed success.